


Print this Topic
Components/LLPs
If the main Parent item (i.e. Engine) has sub components, or children, as defined in Aerotrac by a Bill of Materials (BoM), then the Components tab will list all the child parts.
With the Component Log in Edit mode the components can be edited and their serial numbers and "Current Life" details added or edited. Their relevant "Positions" can also be entered :-
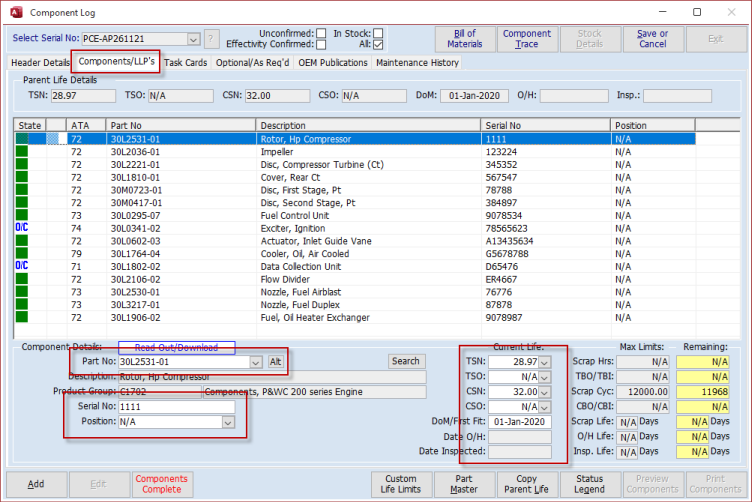
If the part numbers of the component you are building vary slightly to those imported from the BoM, then you can chose alternates via the "Alt" button.
Note: Alternates will need to be setup correctly via the Part Masters screen.
All details for each component part will need to be entered before the components can be set as completed.
Add
While in Edit mode and on the "Components/LLPs tab, the "Add" button allows you to add additional components to the list. Parts added need to be setup in the Part Master as lifed parts :-
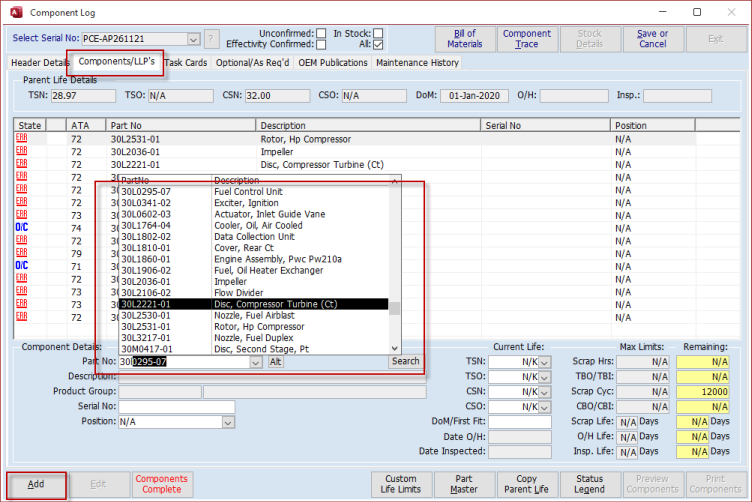
Note; Use the "Add" feature with care. It is important that the BOM, Component Log Components/LLPs and the component structure on the Aircraft all match. If these do not match then you may experience issues when changing components at the Project / Maintenance Updates stage.
Components Complete / Un-Complete Components
In edit mode, once you have finished editing the components, you need to confirm that all the child components are correct, this is set via the "Components Complete" button :-
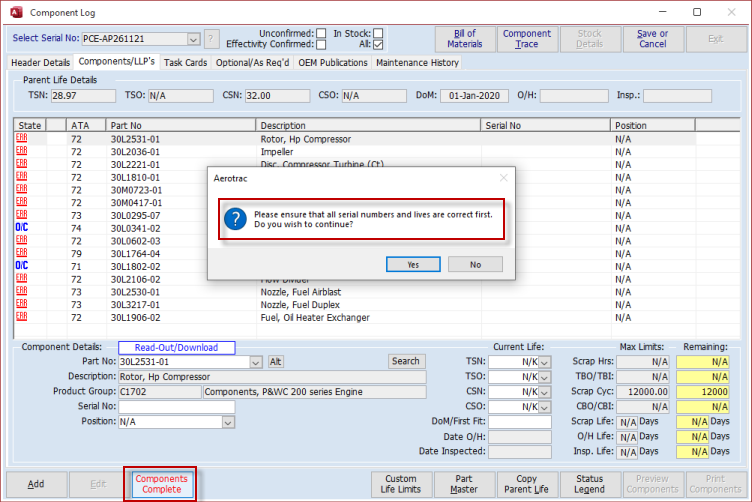
Once this confirmation process is complete and saved, the button label changes to "Un-Complete Components".
At this stage, the system can then import all the relevant Scheduled Maintenance (Task Cards) and OEM Publication data.
There may be times when you need to un-complete the components so that you can edit them again and this is made possible via the "Un-complete Components" button. Once you are in edit mode after clicking this button, the button label changes again so that you can "Complete Components" again once you have made the necessary changes.
If the system finds incomplete data, during the completion process, then you will see the following message :-
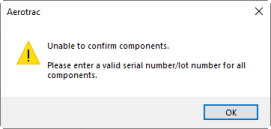
You will need to return to the "Components/LLPs" tab and address the issues.
Once your components are complete, you will see the following message, when clicking the "Components Complete" button :-
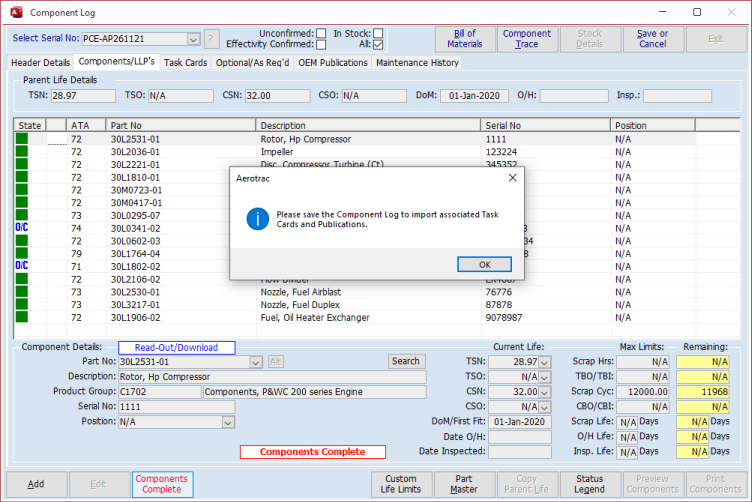
Proceed to save the Component Log.
Custom Life Limits
This is the same function as on the Header Details tab but now this applies to custom life limits for the child components on the "Components/LLPs" tab and will be relevant to the item highlighted in the table view when the button is clicked.
Part Master
The Part Master button located at the bottom of the Component Log screen is a shortcut to the Part Master screen. The Part Master will open displaying data for the part number highlighted in the table view on the Component Log screen (in this case the list of Child components).
Copy Parent Life
This button is only active while the Component Log screen is in edit mode.
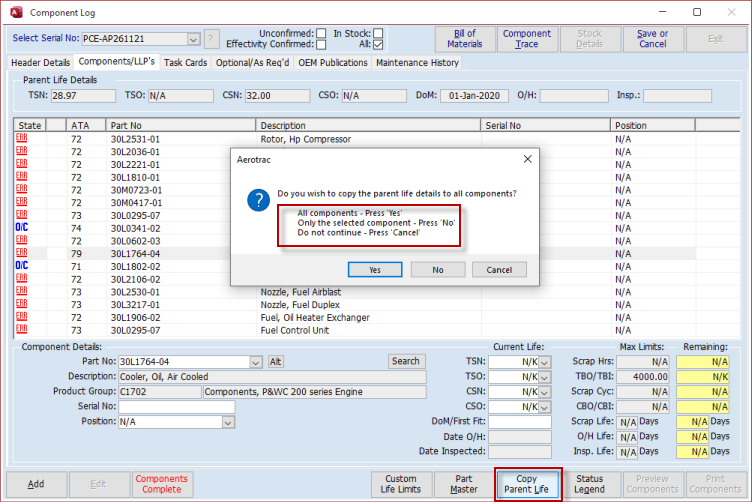
The Parent component’s life can be copied to a Child part, or all Child parts, via the "Copy Parent Life" button located at the bottom of the screen.
Click either Yes or No to apply the Parent life as appropriate. Alternatively, you can cancel the action.
You can now go ahead and update all your child parts as necessary :-
Re-Import Components
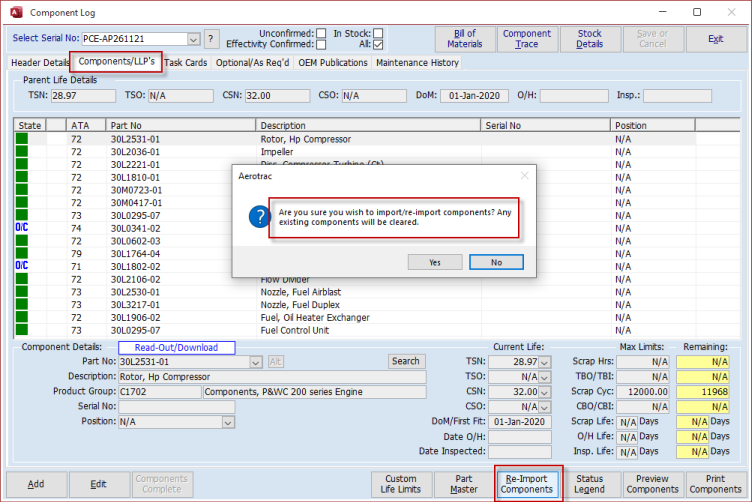
With the Component Log screen in saved mode, the "Re-Import Components" button will be active and this will enable you to overwrite any changes made with a new list of child components taken from the BoM Parent.
Note: Use this option carefully. Ensure that this is what you wish to do as this process will over-write any previously added or edited data and will give you a completely fresh list of components without Serial Numbers and Life Details :-
Status Legend
Clicking on the "Status Legend" button will display the explanation for the colour coding of the Components displayed in the "State" column in the table view.
Items with a star (*) are assemblies in their own right (e.g. a Turbine module on an Engine Assembly) :-
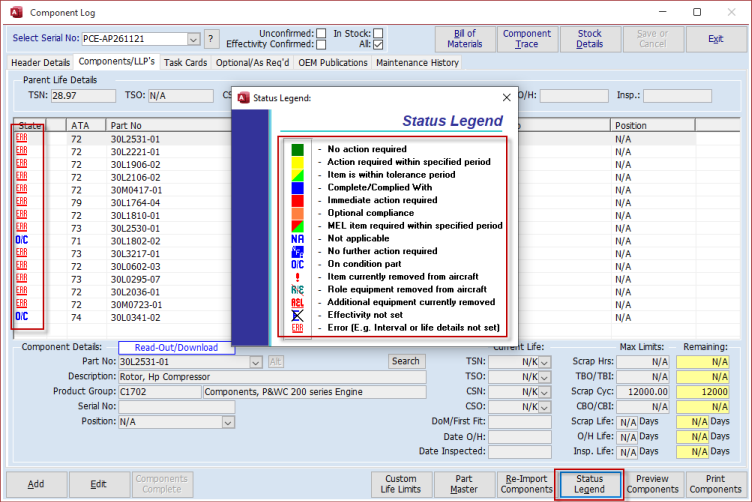
Close the Legend down again by clicking on the "X" button at the top right of the popup window.
Preview / Print Components
A list of all Components can be viewed and / or printed via the "Preview Components" or "Print Components" buttons located at the bottom right of the Component Log screen.
Aerotrac Version - 2.50.25.01, January 2022
Not controlled once printed
END